Sunday, 28 September 2008

Side Windows


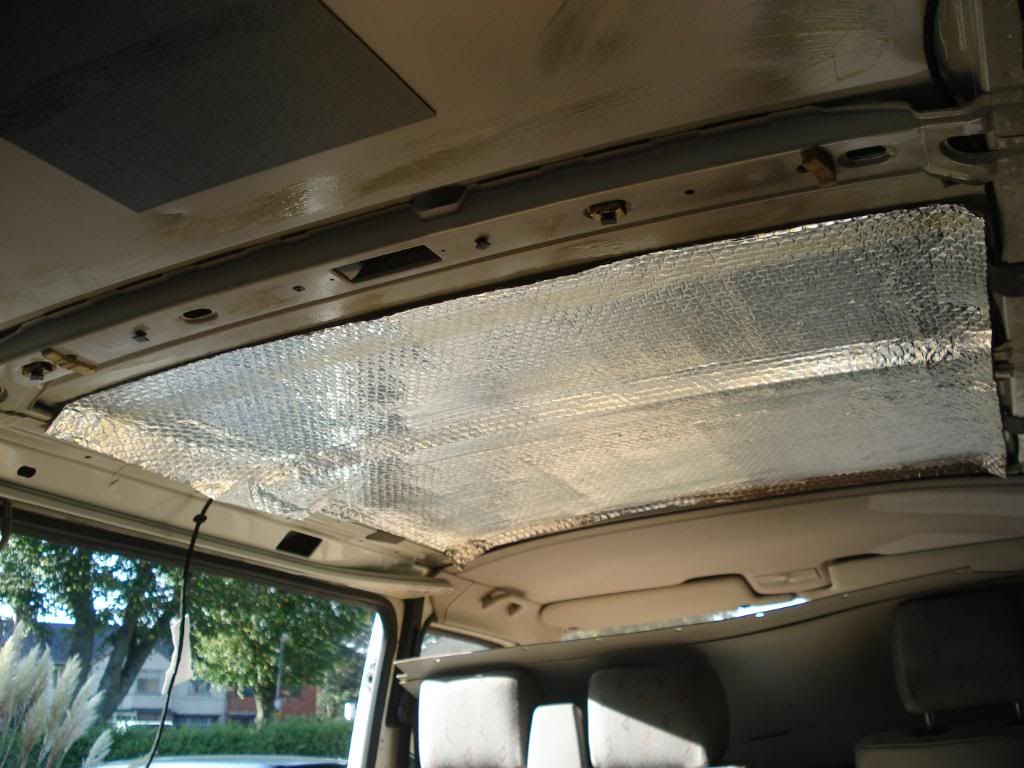
This was a fairly straight forward job really as I didn't do it myself just turn up with my van and hand over cash, simple! £380 for both sides. This was done fairly early in the build but I thought worthy of a mention.

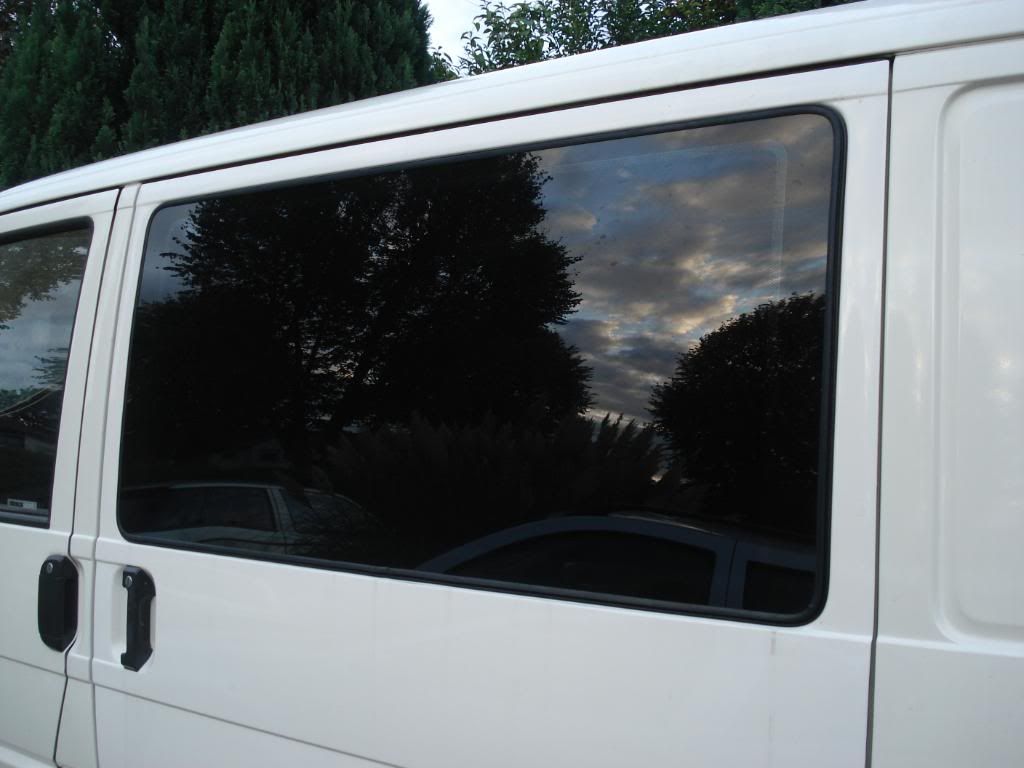
Factory fitted VW bonded windows.

The Windows were tinted by myself and took a good morning to get right. I went for Limo tint which is about 5% visibility. I found out the trick to doing this is preparation, time and patience. The tint film was placed on the outside of the window cut to shape, sprayed with soapy water solution (hand soap + water, NOT washing up liquid) the inside was then sprayed then the tint was transfered to the inside more water solution applied. It was then just a case of squeegeeing out the water to this sides. See there you go piece of cake! (yeah right). After some time they were a success with no bubbles or scratches.


Insulating The Roof

I had stayed over night in the van prior to insulating the roof and it was cold, so insulating the roof was an essential task that needed to be done before the next trip.


To insulate the roof I used some thermal bubble wrap type material called 'Thermawrap General Purpose' purchased from B & Q a roll of this covered the van roof easily with some to spare.


I used contact adhesive to stick the insulation to the roof which proved to work very well indeed, be carefully tho once this stuff sticks there's no going back... it sticks fast! Once stuck I ran duck tape down all the seams.


This is how it turned out:


The Interior

I had seen many designs for the interior on the web mainly from the T4Forum. There were several idea's that i wanted to incorporate into the design, a rounded end for the work units at the drivers end, space for a fridge, a Smev sink and cooker unit and a large wardrobe at the far end. I had seen rounded end to the units done with varying results so thought it was worth the challenge.


The units where completely custom built, two basic box frames where constructed out of 2x1" wood, bridged with the work top. The rounded end unit was constructed using a special flexible MDF. One side is smooth and the other has ridges allowing the sheet to bent into shape, quarter shape ply sections are used to keep the shape. The flexible MDF was bent to shape and pinned with an airgun to hold it in position.

The Smev unit is a narrow combination unit which has two burners and a small sink the whole unit measures just 320mm wide so is ideal. The model is a Smev 911cv.

Saturday, 27 September 2008

The Floor


The Floor was done in a heavy duty vinyl, chequered black and white/grey. Initially i was planning to permenantly glue the flooring down with contact adhesive, however i decided against it last minute as once it glued its glued good maybe a little too good!

So the first job...


So the first job to kick start the conversion was to insulate the van. I decided to create a false floor of 1" and lay 50mm loft insulation in the gap. I positioned 2x1 rough sawn wood aross the van and down the sides then laid the insulation down. The ply that was already in the van was used again for the cover as it was cut to fit.
The sides panels were done in a similar fashion with the same insulation. The ply lining was removed then the panels were layered with insulation and held in with some carpet adhesive.

The Blank Canvass

We have had the T4 roughly a month now, after regretfully departing with our faithful T25. The T25 was a great van but never had the full camper conversion that it deserved. The T4 is the serious one, this one will get the full shizzle!! :)


Luckily our friends Sid and Becky bought the T25 and plan to convert it also! Long live the Flat4!